Deploy
Build
Run vite build to build your application into dist/. Vite will build both the client and server builds, then domco will prerender any static routes and run the adapter if set.
dist/
├── client/
│	├── (_immutable/) - any JS/CSS/immutable assets from client and server builds
│	└── (index.html) - prerendered pages
└── server/
	├── app.js - server entry point
	└── (adapter-entry.js) - if using an adapter
Any assets such as images or fonts (see full list) imported in the server and client builds will be available publicly at a unique URL when utilizing a domco adapter.
Production
If you are not using a vendor adapter, you can import default.fetch from the app.js module and configure your application to use in production.
The dist/client/ directory holds client assets. JS and CSS assets with hashed file names will be output to dist/client/_immutable/, you can serve this path with immutable cache headers. Other assets like prerendered HTML files are processed and included in dist/client/ directly.
Node server
Here’s an example of how to serve your application using the result of your build with node:http, sirv, and domco/listener.
// server.js
// import from the build output
import app from "./dist/server/app.js";
// converts web fetch handler to a Node compatible request listener
import { nodeListener } from "domco/listener";
import { createServer } from "node:http";
// `sirv` serves static assets
import sirv from "sirv";

const assets = sirv("dist/client", {
	etag: true,
	setHeaders: (res, pathname) => {
		// serve `dist/client/_immutable/*` with immutable headers
		if (pathname.startsWith("/_immutable/")) {
			res.setHeader("Cache-Control", "public, max-age=31536000, immutable");
		}
	},
});

const server = createServer((req, res) =>
	// first, look for a static asset
	assets(req, res, () =>
		// fallthrough to the fetch handler if static asset is not found
		nodeListener(app.fetch)(req, res),
	),
);

server.listen(3000);
Run this module to start your server and navigate to http://localhost:3000/ to view your application.
node server.jsAdapters
Install and add a deployment adapter within your Vite config to output your application to a different target with no additional configuration.
// vite.config
// import adapter
import { adapter } from "@domcojs/{adapter-name}";
import { domco } from "domco";
import { defineConfig } from "vite";

export default defineConfig({
	plugins: [
		domco({
			// add to your domco config
			adapter: adapter({
				// options...
			}),
		}),
	],
});
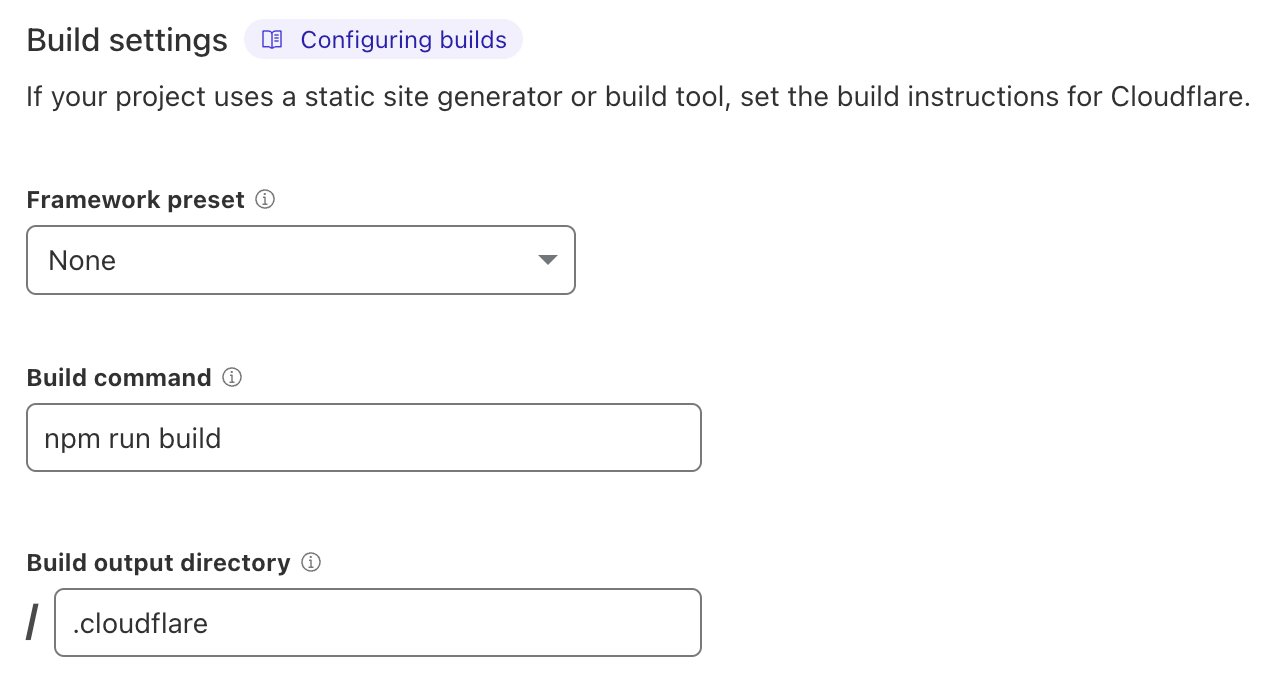
Cloudflare
npm i -D @domcojs/cloudflareThe Cloudflare adapter outputs your application to run on Cloudflare Pages.
- Runs on workerd.
- Outputs public assets to be served on Cloudflare’s CDN.

Deno
npm i -D @domcojs/denoThe Deno adapter outputs your application to run on Deno Deploy. You do not have to use Deno for development to use this adapter.
- Runs on Deno.
- Static files are served with
@std/http/file-server.

Vercel
npm i -D @domcojs/vercelThe Vercel adapter outputs your application to the Build Output API specification.
- Runs on Node.js, Node.js with ISR or Bun.
- Outputs public assets to be served on Vercel’s Edge Network.
- Supports on demand Image Optimization when configured in the adapter config.
- Set the
srcattribute of an image using the/_vercel/image/...optimized URL format. Indevandpreviewmodes, domco will redirect to the original image.
- Set the

Creating an adapter
If you’d like to deploy a domco application to a different provider, and you need many configuration steps for this to take place you can create an adapter.
Check out the current adapters to see how to make your own.
Adapters take care of these deployment steps.
- Set
ssroptions if changes are needed, for example if you are deploying to a runtime that doesn’t support Node APIs, set this to"web worker". - Create an entry point for the target environment by using
default.fetchfromdist/server/app.js. This could be reexporting it as a different export, or applying to a Node server. - Within the entry point, serve the
dist/client/*directory as static assets, and thedist/client/_immutable/*directory with immutable cache headers. Static assets must be hit beforedefault.fetchto take advantage of prerendering. When an asset is not found, the request needs to fallthrough todefault.fetch.
If you think others might benefit from your adapter you can create an issue or pull request to propose a new adapter. Adapters should be created for zero configuration deployments for deployment providers, not specific to JavaScript runtimes.